Sunday, March 27, 2011

Beadboard Goes Up - Dining Room Part 4

I know I'm jumping around with my posts on the Dining Room, but hopefully when it's all done, I will have covered everything. :-)
My husband found 10 sheets of beadboard on Craigslist for $40!  If you've shopped for beadboard, you know that it runs around $20 a sheet...so for $40 for 10 sheets - that was a great deal!  It was grey in color, but that didn't matter, I had plans to paint it anyway.
We started with the North wall.  After putting one board up, we realized we would have to cover the seams because they did not fall on studs and we would have to use liquid nails and LOTS of regular nails!  So we took the first board off and made the seams equal in distance.

Here is the other half of the North wall.  Our ceiling is 12 feet tall in this room, but it angles at about 8 feet.  We went up about 7 feet on the walls with the beadboard. 


Here is the West wall...the other side of this wall is the Kitchen.  If we would have thought about it, we would have cut two boards equal in width, so the seam would have fallen in the middle...it really is not a big deal to us (now)...so it is how it is . :-) 

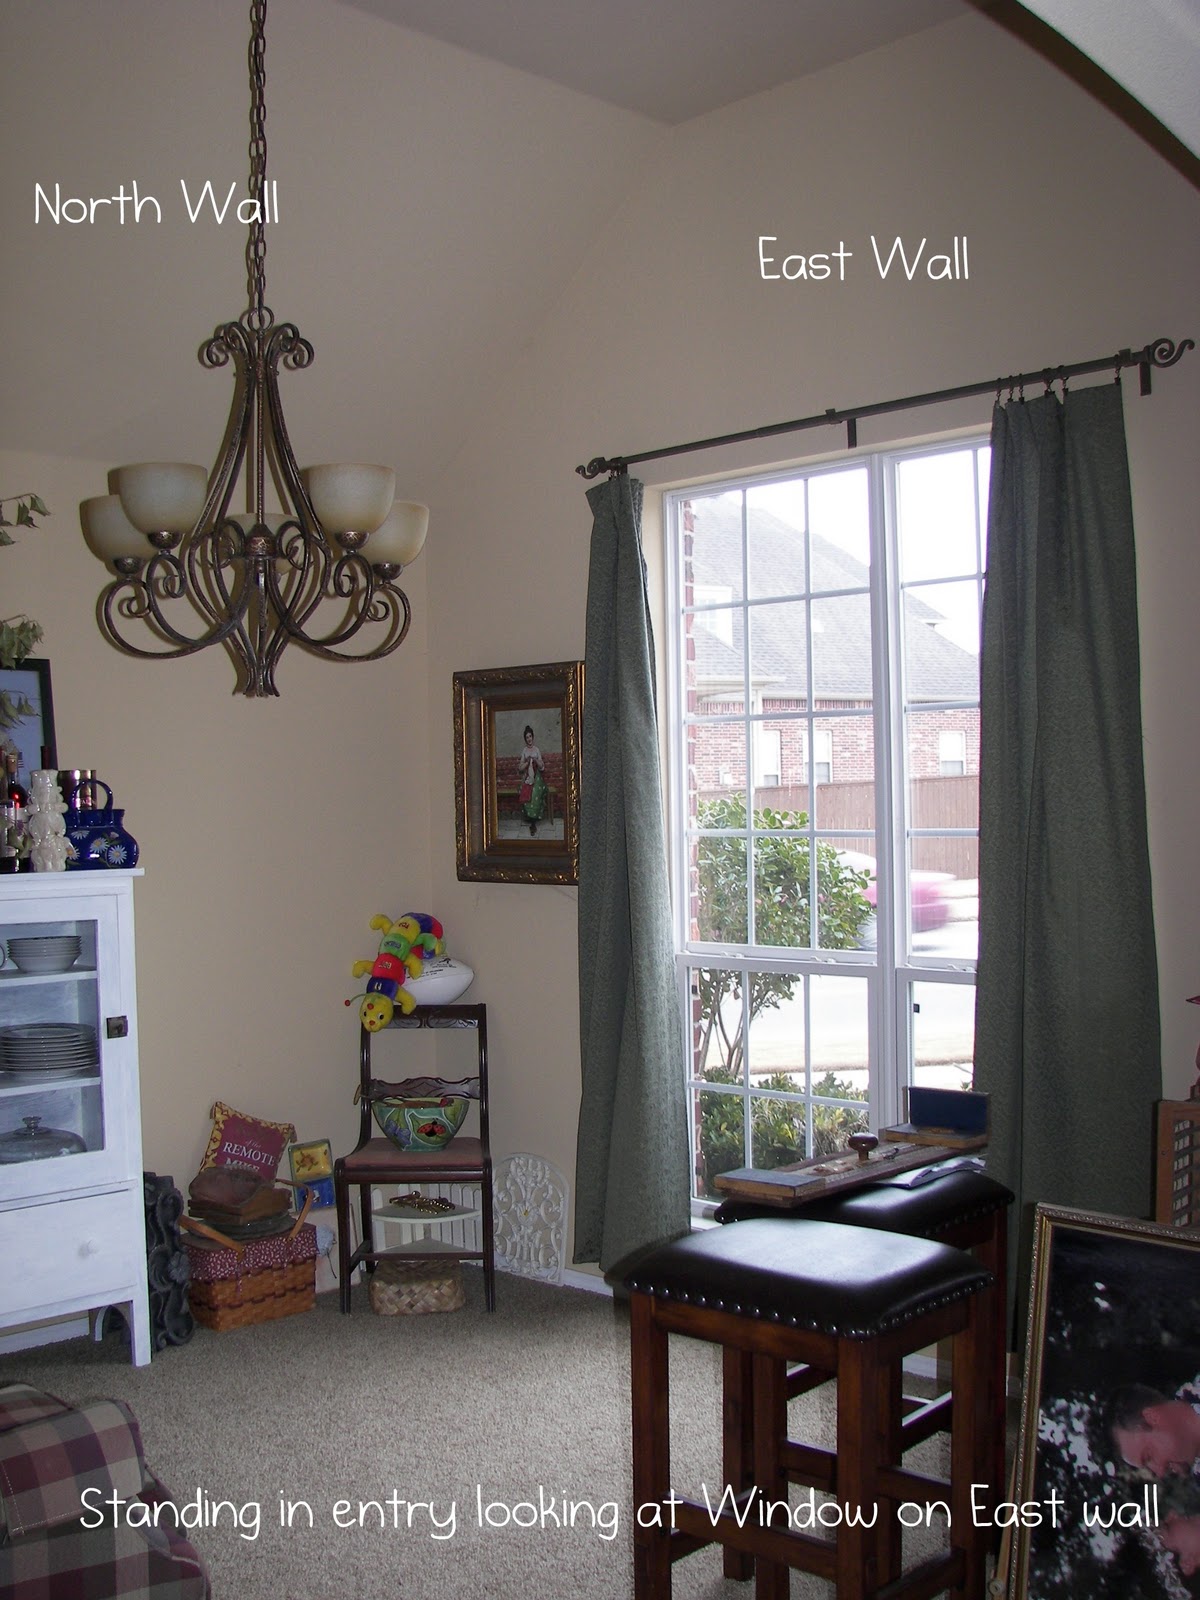
Here is the North and East wall.  

Here is the East and South wall.  That is the PITA shutter.  It looks fine, but is not installed totally correct.  You can still see screws from the outside.  We picked our battle and chose to take the 1/2 off refund and live with it...we will probably do something so that you can not see those screws! 


So this is how the Dining Room sat for a year!  Putting up the beadboard was a task in itself.  When we had this house built, we took lots of pictures of each stage - thank goodness!!  We referenced back to the pictures to find the studs in the walls.  We also used a stud-finder.  The studs are not where they 'normally' would be so the beadboard seams would no stay put...they kept 'popping' off the walls.  We really did not want to use liquid nails because whenever we wanted to take the beadboard down, we didn't want the sheetrock to be ruined.  In the end, we used liquid nails and the beadboard is up and it's not coming down anytime soon!
It is now trimmed out - pics to come! and painted!!

Getting things done around the house for yourself - Pricele$$!!!


I party with these ladies every week....click on their buttons and PARTY ON!!!
Sumo's Sweet Stuff Keeping It SimpleMakingBWS tips button
Photobucket
The DIY Show OffBeyond The Picket Fencegiveaways


www.itssoverycheri.com

Monday, March 21, 2011

It's the Perfect Storm - Painting the Dining Room - Part 3

If you read previous posts, you know we started the Dining Room remodel a year ago!  Here are some before pictures....

The color on the walls is construction color 'peanut shell'...I got a small sample of the paint color I wanted and painted it on the wall to see if we would like it.


Before pics... 

more before... 

and more before... 

Here's my husband starting to paint.  Paint color is from Lowes.  Valspar - Perfect Storm. 

I wanted a 'peacock blue'..this is as close as I could find.  Not navy, not teal...kind of in between. 

love, love, love it! 

Since our ceiling is so high in here (12 feet), the darker color works fine. 

This pic makes the blue look brighter than it is...the other pics look more 'true to color'. 

A coat of paint = Pricele$$

Sunday, March 20, 2011

How to Cover Nail Holes - Dining Room - Part 2

So we are finishing up the Dining Room this week and we finally got the beadboard up (installation coming in a later post) but before we could paint, the nail holes needed to be covered.  Here's how to do that:

First, use a 'punch' and hammer and 'sink' the nails below the surface you are working on.  You don't want the nails flush or above the wood.

Use spackle to fill the holes.  On flat surfaces, you can use a putty knife.  On rounded surfaces, use your fingers.

I like this one because it starts out pink and turns white when it's dry.

Fill the hole.  On a rounded surface like this one pictured..overfill the hole - you will sand down when dry.  On a smooth surface, use a putty knife and fill, then scrape away excess to be even with the wood surface (less sanding that way).
See how it has a pink tint - still wet.

When it drys, it turns white.

Use a sanding block or sandpaper to sand the excess off...you want the 'filler' to be even with the wood surface.

And there you go.  Can't see the holes anymore and when it gets painted, you will not be able to tell where the hole was.

Doing something for yourself to improve your home = Pricele$$


I party each week with the following ladies...go check out their blogs and PARTY ON!!!

UndertheTableandDreamingPhotobucket Keeping It SimpleSumo's Sweet StuffPhotobucketThe DIY Show Off
Anything RelatedPhotobucket http://linda-coastalcharm.blogspot.com/LINKPARTYBUTTON

http://www.thegypsyscorner.com/
http://todayscreativeblog.net/”BCDMake it Yours @ My Backyard Eden
Transformation Thursday

Beyond The Picket Fence